


蜜罐技术:
蜜罐本质上是一种对攻击者进行欺骗技术,通过布置一些作为诱饵的主机、网络服务或信息,诱使攻击方对它们实施攻击,从而可以对攻击行为进行捕获和分析,蜜罐一般是在隔离环境,攻击者入侵后是在系统之上的系统中,攻击者做的任何事情都记录在系统中,以供分析
T-pot19.03
T-pot 19.03运行在debian(Sid)上,基于docker, docker-compose并且包括以下蜜罐的docker镜像:
adbhoney,ciscoasa,conpot,cowrie,dionaea,elasticpot,glastopf,glutton、heralding,honeypy,honeytrap,mailoney,medpot,rdpy,snare,tanner
据介绍为了更接近滚对发布模型设计,此版本从ubuntu迁至debian
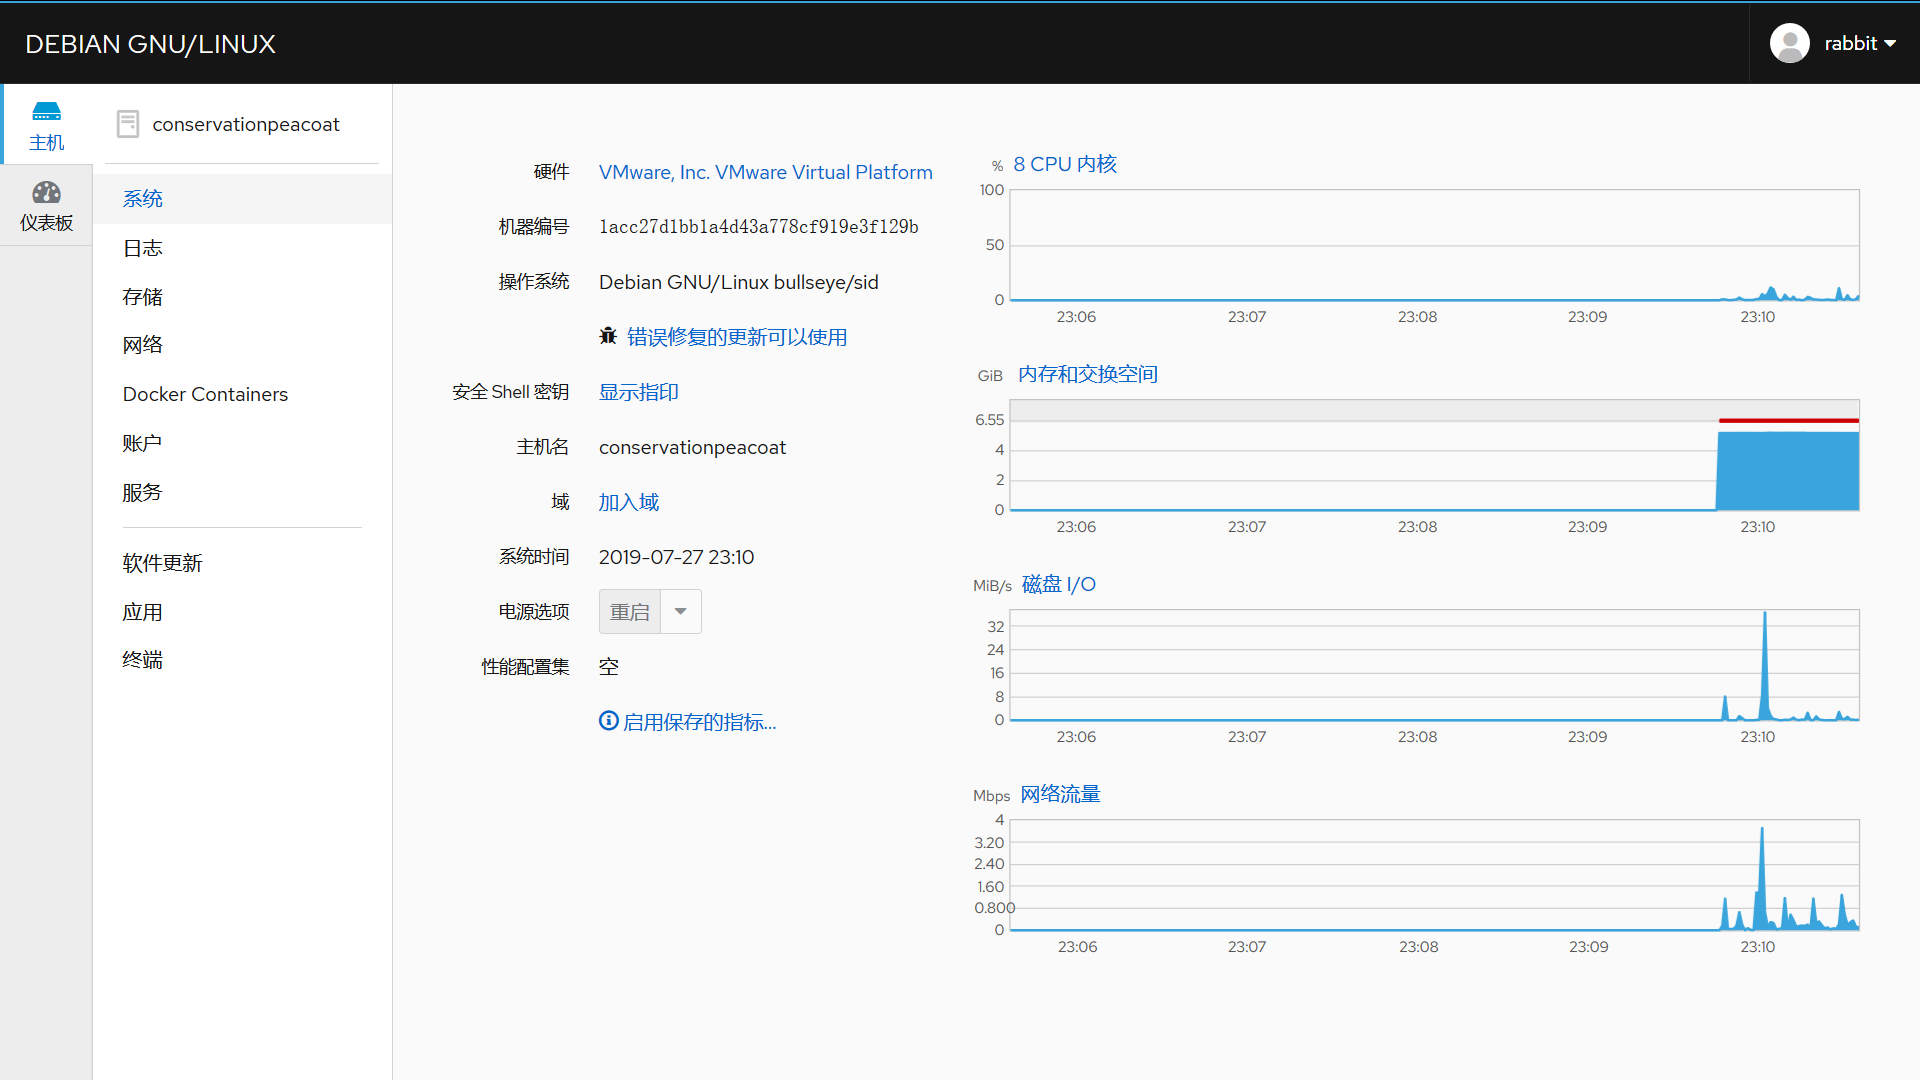
部署完成后

官方介绍
官方介绍: https://dtag-dev-sec.github.io/mediator/feature/2016/10/31/t-pot-16.10.html
官方github: https://github.com/dtag-dev-sec/tpotce
一、安装
- 安装要求
6-8GRAM
128G磁盘空间
- 安装模式
标准安装、传感器安装、 工业安装、 收集器安装 、 下一代安装
详细信息见官方说明 https://github.com/dtag-dev-sec/tpotce#postinstallauto
提供三种安装方式:
- 裸设备安装
1、获取ISO的方式:
ISO方式:
https://github.com/dtag-dev-sec/tpotce/releases/download/19.03/tpot.iso
- 基于现有系统安装
我第一次用的官方的iso安装,安装了两天都没安装好,速度太慢了,然后我直接用的纯净最小安装包debian9.8安装的,下面是我基于现有系统安装的安装步骤
安装要求
- 6-8GRAM
- 128G磁盘空间
- 连接网络
更换apt源
cp /etc/apt/sources.list /etc/apt/sources.list_bak_$(date +%F)

#T-pot使用的是Sid版本所以我添加的源也是Sid版的(注释的是官方提供的其中一个国外源站):

echo "deb http://mirrors.163.com/debian/ sid main non-free contrib
deb-src http://mirrors.163.com/debian/ sid main non-free contrib

deb https://mirrors.tuna.tsinghua.edu.cn/debian/ sid main non-free contrib
deb-src https://mirrors.tuna.tsinghua.edu.cn/debian/ sid main non-free contrib

deb http://mirrors.ustc.edu.cn/debian/ sid main non-free contrib
deb-src http://mirrors.ustc.edu.cn/debian/ sid main non-free contrib

#deb http://ftp.sg.debian.org/debian/ sid main non-free contrib
#deb-src http://ftp.sg.debian.org/debian/ sid main non-free contrib

deb http://ftp.hk.debian.org/debian/ sid main non-free contrib
deb-src http://ftp.hk.debian.org/debian/ sid main non-free contrib " > /etc/apt/sources.list

apt-get update
apt-get install curl git
安装apt-fast
apt-fast 加速包下载速度,通过aria2的多线程在多个镜像源中进行下载同一个文件,此步骤可忽略,install.sh会自动安装
apt-get install aria2 -y
git clone https://github.com/ilikenwf/apt-fast.git
cd apt-fast/
cp apt-fast /usr/bin/
cp apt-fast /usr/local/sbin/
chmod +x /usr/bin/apt-fast
chmod +x /usr/local/sbin/
cp apt-fast.conf /etc
apt-fast update
sed -i "/^ *MIRRORS/d" /etc/apt-fast.conf
echo "MIRRORS=( 'http://mirrors.163.com/debian/,https://mirrors.tuna.tsinghua.edu.cn/debian/,http://mirrors.ustc.edu.cn/debian/' ) " >> /etc/apt-fast.conf


#后面看了下T-pot install脚本发现脚本内有下载apt-fast(所以可以不用自己下载apt-fast)😓
#此框命令可选执行,建议执行一遍用不了多久
配置npm源
apt-fast install npm
npm config set registry http://registry.npm.taobao.org
#将npm源换成国内源
克隆Tpot
#这里指定克隆库到/opt/tpot,因为此版的install.sh中会到这个目录下读配置文件,不存在的话,会自动再从github clone一份
git clone https://github.com/dtag-dev-sec/tpotce /opt/tpot
更改脚本
#发现脚本会将镜像源替换成官方源,需要将脚本中的替换命令删除,以下是19.03版本的删除命令:
sed -i '/^ *tee \/etc/d' install.sh
sed -i '/^ *deb/d' install.sh
sed -i "$(cat -n install.sh | grep "EOF$" | awk '{print $1}' | sed -n "1p")d" install.sh
#以上三条命令不建议在非19.03版本运行,可能install脚本内容更改。

sed -i "/^ *git clone https:\/\/github/d" install.sh #此条删除install.sh中克隆库到/opt/tpot前面已经克隆到这个目录所以删除

#默认拉docker镜像的是国外的网站,总有几个镜像拉不动,配置加速会快很多
cd /opt/tpot/iso/installer
AA=$(cat -n install.sh | grep "myTPOTCOMPOSE" | grep "for name in" | awk '{ print $1 }')
sed -i "${AA}i curl -sSL https://get.daocloud.io/daotools/set_mirror.sh | sh -s http://f1361db2.m.daocloud.io" install.sh
sed -i "${AA}a systemctl restart docker" install.sh
安装
cd tpot/iso/installer/
./install.sh --type=user
#如果中途退出执行install.sh,可能会报版本不支持错误,需要删除检测版本验证
sed -i "s/if \[ \"\$myLSB\" \!=.*/if \[ 1 \!= 1\]\;/" install.sh
#github克隆速度慢的话可以尝试更改hosts文件
echo "13.229.188.59 github.com www.github.com
185.199.111.153 assets-cdn.github.com www.assets-cdn.github.com
151.101.228.249 global.ssl.fastly.net www.global.ssl.fastly.net" >> /etc/hosts
检查安装
- 检查Tpot服务
systemctl status tpot
- 检查容器
cd /opt/tpot/bin
./dps.sh
#如果没有启动参考下面使用中的启动命令
#如果部分没有成功下载,可以手动下载下面的下载缺失容器
- 下载缺失容器
cd /opt/tpot/etc/compose
for i in `cat ./standard.yml | grep image | cut -d '"' -f2 | uniq`
do
    docker pull $i
done
- 启动容器
cd /opt/tpot/etc/compose
docker-compose -f ./standard.yml
#如果安装别的模式yml用相应版本的
#如果部分没有成功下载,可以手动下载
使用
- 启动Tpot服务
systemctl start tpot
- 停止Tpot服务
systemctl stop tpot
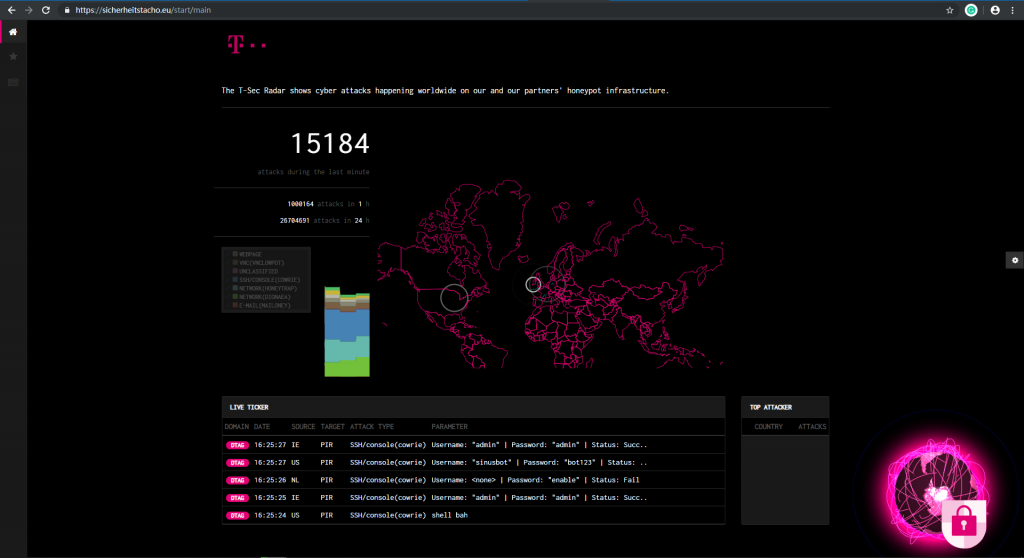
- 选择关闭数据提交
默认情况,捕获的数据将提交给社区后端,并在 Sicherheitstacho 网站进行展现,可根据个人喜好关闭
- 停止T-Pot服务
systemctl stop tpo
- 删除Ewsposter服务
vi /opt/tpot/etc/tpot.yml
- 删除以下行,保存并退出
# Ewsposter service
  ewsposter:
  container_name: ewsposter
  restart: always
  networks:
   - ewsposter_local
  image: "dtagdevsec/ewsposter:1903"
  volumes:
   - /data:/data
   - /data/ews/conf/ews.ip:/opt/ewsposter/ews.ip
- 启动T-Pot服务
systemctl start tpot
- 选择加入HPFEEDS分享数据
现在可以与第三方HPFEEDS共享T-Pot数据提供额外的选项来提交攻击数据,例如SISSDEN。如果您想分享您的T-Pot数据,您只需在第三方经纪人处注册一个帐户,并为社区带来好处。注册后,您将收到您的凭证,以便与社区分
创建账户并申请凭证 https://portal.sissden.eu/profile
运行脚本
./hpfreeds_option.sh
- 系统使用
- 系统监控web
https://yourip:64294
- 管理web
https://yourip:64297
- ssh登陆
ssh -l tsec -p 64295 yourip
- 公网收集数据
可以使用内网穿透工具将需要收集信息的端口转发出去,可以参考
更新
- 备份重要文件
- 执行更新命令
cd /opt/tpot
./update.sh
